
Tour Booking Website Launch Checklist helps you prepare your tour website before launch by testing bookings, payments, emails, SEO, speed, security, and customer experience.
Launching your tour booking website is exciting. Your tours are ready, pages look good, and everything seems complete.
But before you go live, there is one important step:
Test the full booking process from start to finish.
A tour booking website is not just pages. It manages bookings, pricing, payments, emails, and customer data. Even a small issue can cause lost bookings or customer frustration.
Following a Tour Booking Website Launch Checklist helps you identify technical issues, improve the customer experience, and ensure your website is ready for real bookings.
This checklist will help you avoid that.
Start Here: Test the Full Booking Flow
The first step in this Tour Booking Website Launch Checklist is checking the complete booking journey from a customer’s perspective.
Try to:
- Find a tour
- Select a departure date
- Fill out the booking form
- Complete payment
- Receive the confirmation email
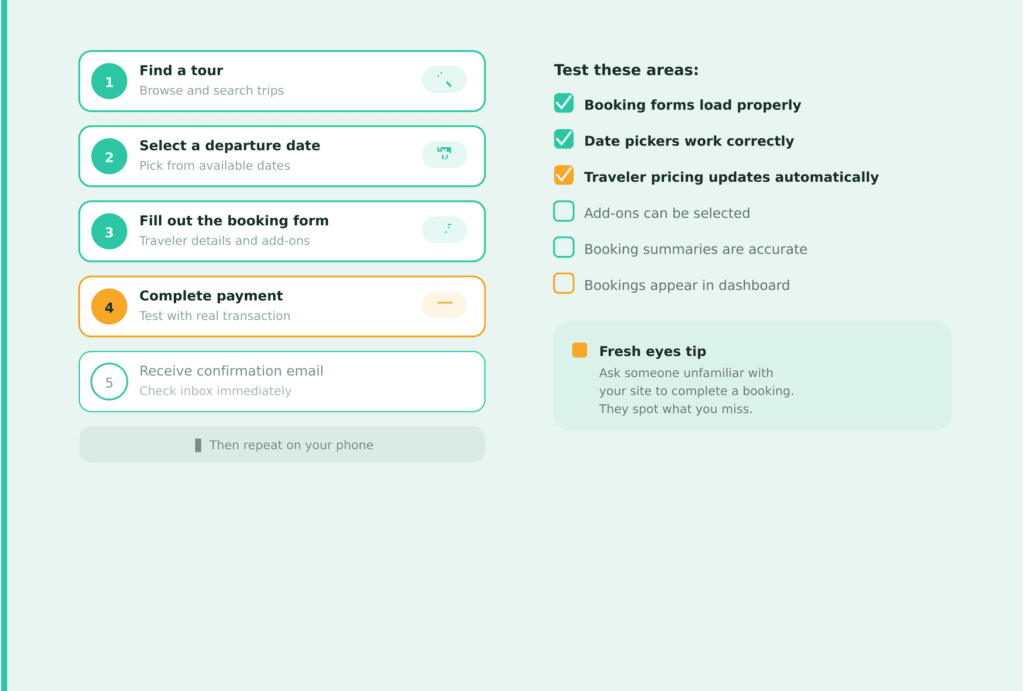
Then repeat the process on your phone.
If possible, ask someone who hasn’t seen your website before to book a tour and share their experience. Fresh eyes often spot issues that are easy to miss.
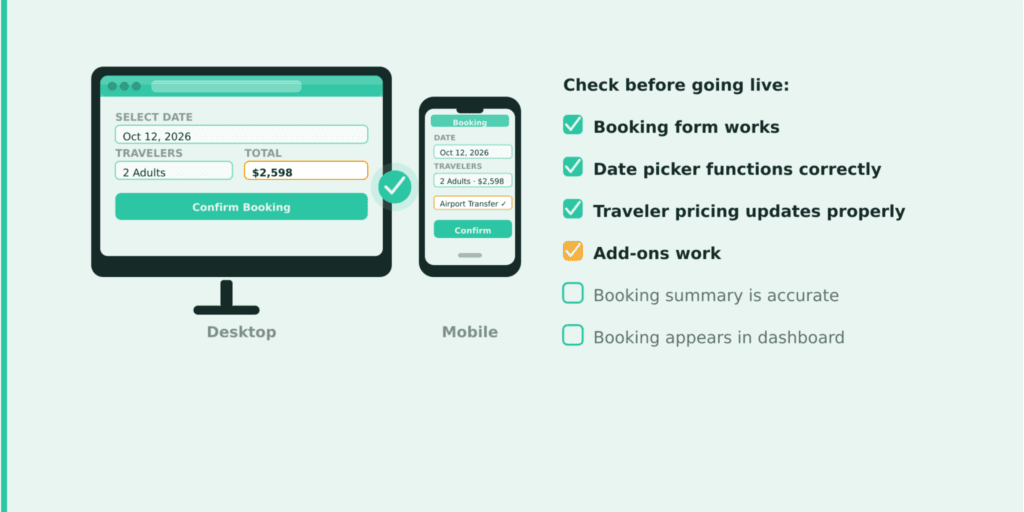
Test these areas:
- Booking forms load properly
- Date pickers work correctly
- Traveler pricing updates automatically
- Add-ons and extra services can be selected
- Booking summaries are accurate
- Bookings appear in your dashboard
WP Travel Engine Tip
→ Explore WP Travel Engine’s booking management features.
Once Bookings Work, Review Your Tour Information
Now imagine you’re a customer planning a trip.
Do you have enough information to book confidently?
Travelers often leave a website simply because they can’t find important details.
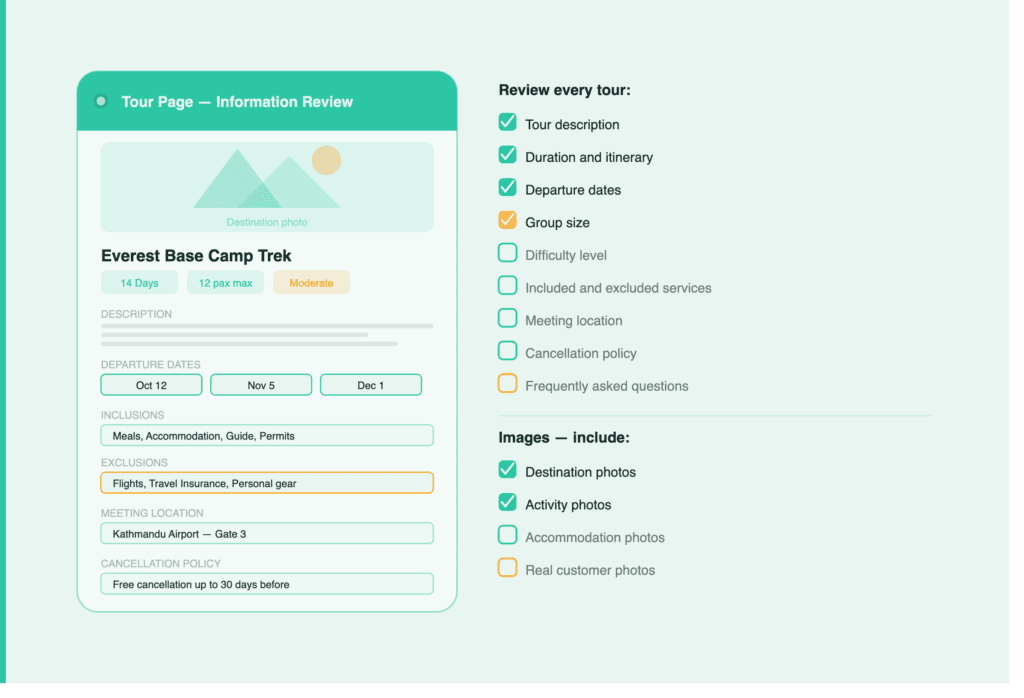
A proper Tour Booking Website Launch Checklist should include reviewing every tour page to make sure customers have enough information before booking.
Review every tour and make sure it includes:
- Tour description
- Duration and itinerary
- Departure dates
- Group size
- Difficulty level
- Included and excluded services
- Meeting location
- Cancellation policy
- Frequently asked questions
Images matter too.
Make sure your galleries include:
- Destination photos
- Activity photos
- Accommodation photos
- Real customer photos if available
Verify Your Tour Pricing Settings & Currency Setup
As part of this Tour Booking Website Launch Checklist, it’s important to review your pricing setup before accepting real bookings.
Incorrect pricing can lead to confusion, support requests, and unhappy customers.
Before launch, review:

- Adult and child pricing
- Group pricing
- Seasonal pricing
- Discounts and coupons
- Taxes and fees
- Currency settings
- Deposit or partial payment settings
If you serve international travelers, make sure your currency symbols are displayed correctly.
A simple pricing mistake can cost you bookings.
WP Travel Engine Tip
→ Explore WP Travel Engine’s pricing settings features.
Then Test Your Payment Gateways
The next step in your Tour Booking Website Launch Checklist is to test payment gateways and ensure customers can complete transactions smoothly.
A booking isn’t complete until payment succeeds.
This is one of the most important parts of your launch checklist.
Make sure:
- Payment gateways are connected properly.
- Sandbox mode is disabled.
- Payment confirmations work.
- Failed payments show clear messages.
- Refund workflows are tested.
Even if you’ve tested in sandbox mode, make one real transaction and refund it afterward.
Sometimes everything works in testing but fails in live mode.
WP Travel Engine Tip
Before going live, verify that your preferred payment gateway is connected and fully tested so customers can complete bookings without issues. Explore here for more understanding
What Happens After Someone Books?
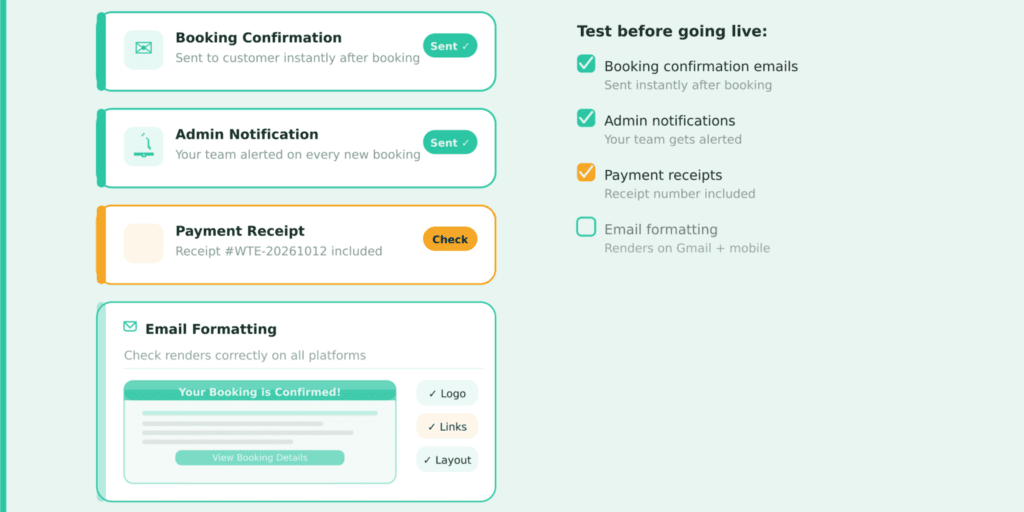
The booking confirmation email is often the first communication a customer receives from your business.
It should look professional and provide all the information they need.
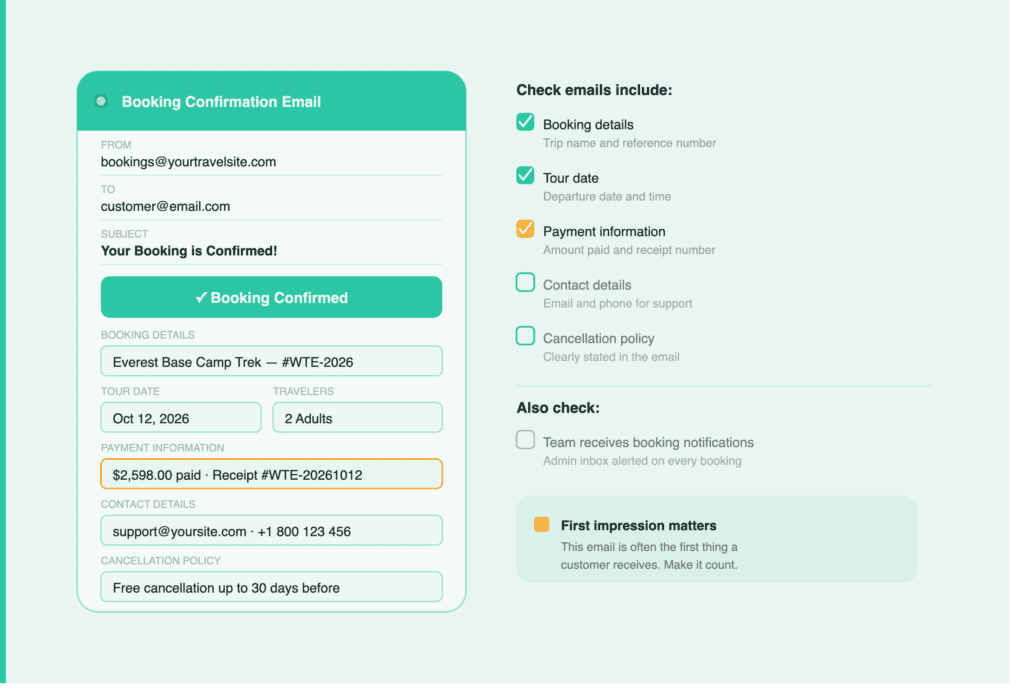
Check that your emails include:
- Booking details
- Tour date
- Payment information
- Contact details
- Cancellation policy
Also, make sure your team receives booking notifications.
Now Look at Your Website Through a Visitor’s Eyes
Take a step back and browse your website like a customer.
Ask yourself:
- Is it easy to find tours?
- Can visitors contact you quickly?
- Are important pages easy to access?
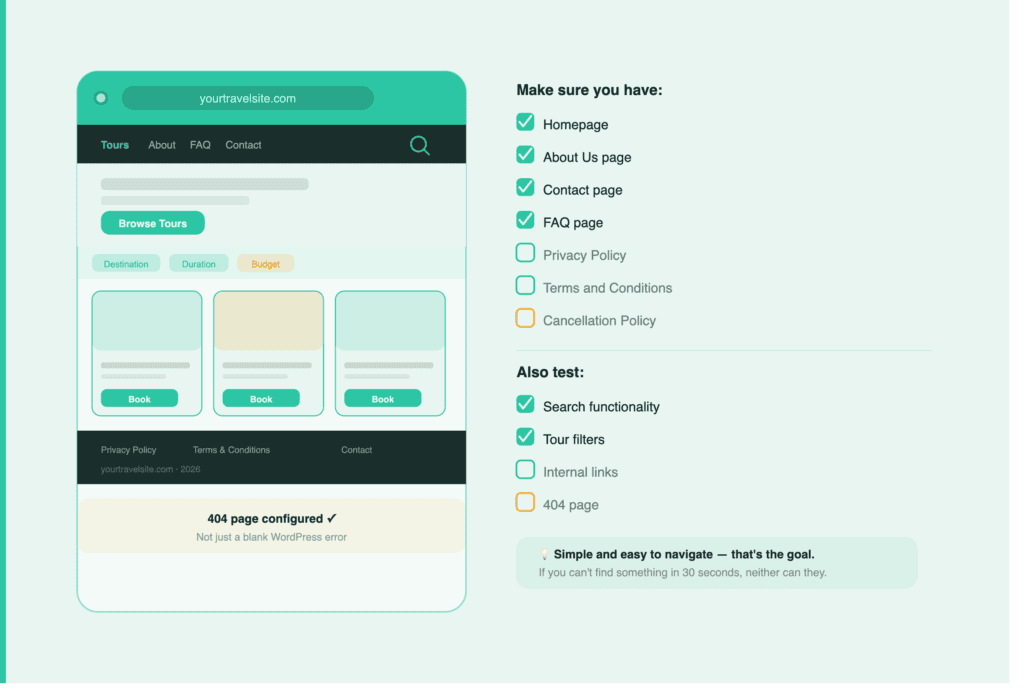
Make sure you have:
- Homepage
- About Us page
- Contact page
- FAQ page
- Privacy Policy
- Terms and Conditions
- Cancellation Policy
Also test:
- Search functionality
- Tour filters
- Internal links
- 404 page
A website should feel simple and easy to navigate.
Speed Matters More Than You Think
Website performance is another important part of the Tour Booking Website Launch Checklist because slow pages can reduce bookings.
Travelers compare multiple websites before booking.
A slow website can cause visitors to leave before they even reach the booking form.
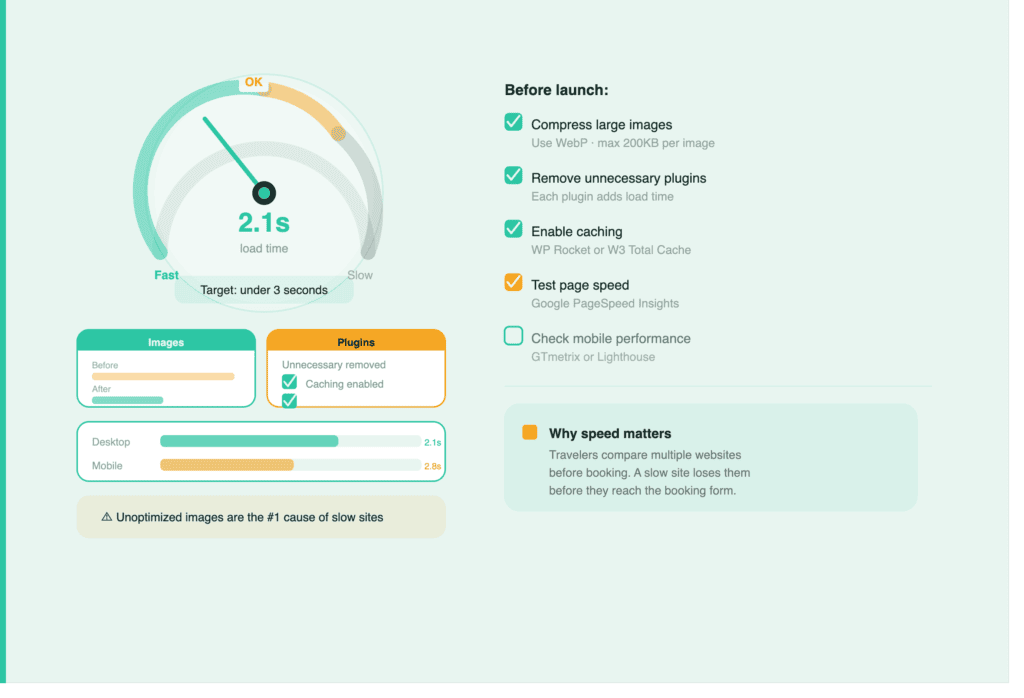
Before launch:
- Compress large images.
- Remove unnecessary plugins.
- Enable caching.
- Test page speed.
- Check mobile performance.
Try to keep your pages loading in under three seconds.
Large, unoptimized images are usually the primary reason travel websites slow down.
Don’t Forget Mobile Users
A large percentage of travel bookings happen on mobile devices.
A complete Tour Booking Website Launch Checklist should always include mobile testing, as many travelers book trips on their phones.
A booking process that works perfectly on a desktop may break on a phone.
Test your website on:
- Smartphones
- Tablets
- iOS devices
- Android devices
Make sure:
- Menus work properly
- Booking forms are easy to use
- Buttons are easy to tap
- Payment pages display correctly
- Images load properly
Testing on real devices is always better than using browser previews.
Build Trust Before Asking for a Booking
Visitors need confidence before sharing payment details. As part of your Tour Booking Website Launch Checklist, building trust elements on your website can help increase customer confidence and bookings.
Many visitors will be hearing about your business for the first time.
Give them reasons to trust you.
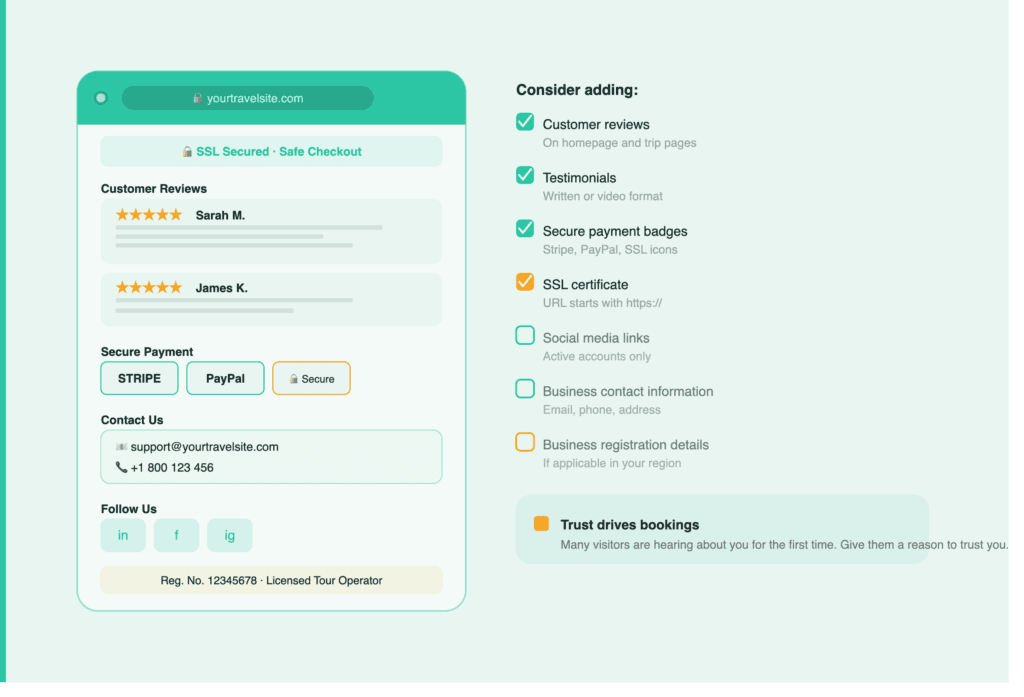
Consider adding:
- Customer reviews
- Testimonials
- Secure payment badges
- SSL certificate
- Social media links
- Business contact information
- Business registration details if applicable
Trust is one of the biggest factors that influences bookings.
Make Sure Search Engines Can Find Your Tours
SEO should be included in your Tour Booking Website Launch Checklist so your tours can be discovered through search engines.
Your website may look great, but people still need to discover it.
Before launch, review your SEO basics.
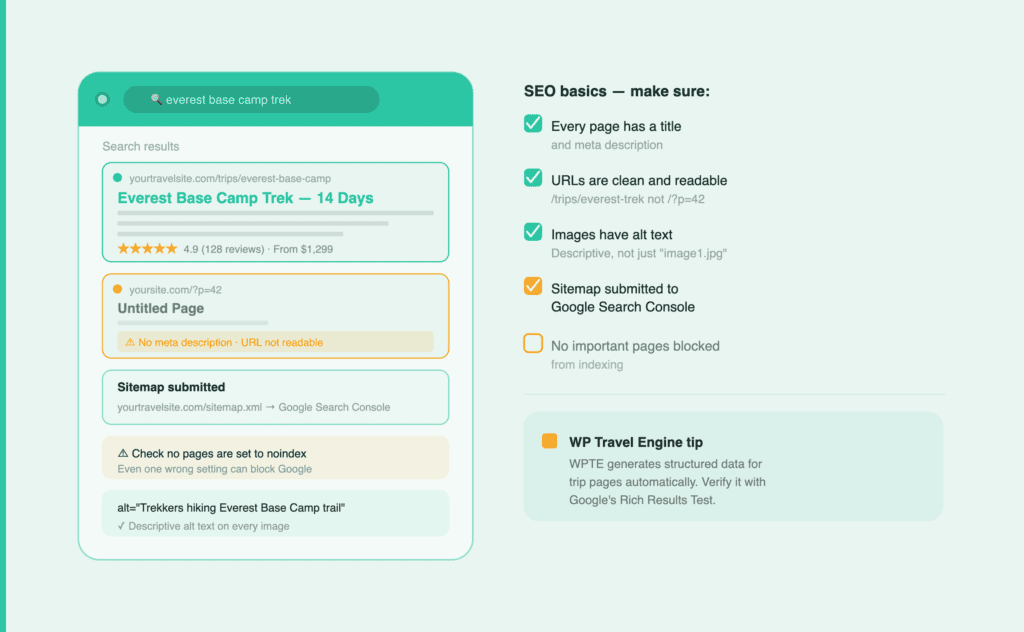
Make sure:
- Every page has a title and meta description.
- URLs are clean and readable.
- Images have alt text.
- Your sitemap is submitted to Google Search Console.
- No important pages are blocked from indexing.
WP Travel Engine Tip
WP Travel Engine automatically generates structured data for trip pages, helping search engines better understand your tours and improving how your listings appear in search results.
Set Up Analytics Before Traffic Starts Coming In
Tracking performance is another important part of the Tour Booking Website Launch Checklist because it helps you understand visitor behavior after launch.
The day your website goes live, you’ll want to know:
- Where your visitors come from
- Which tours are performing well
- How many bookings are you getting
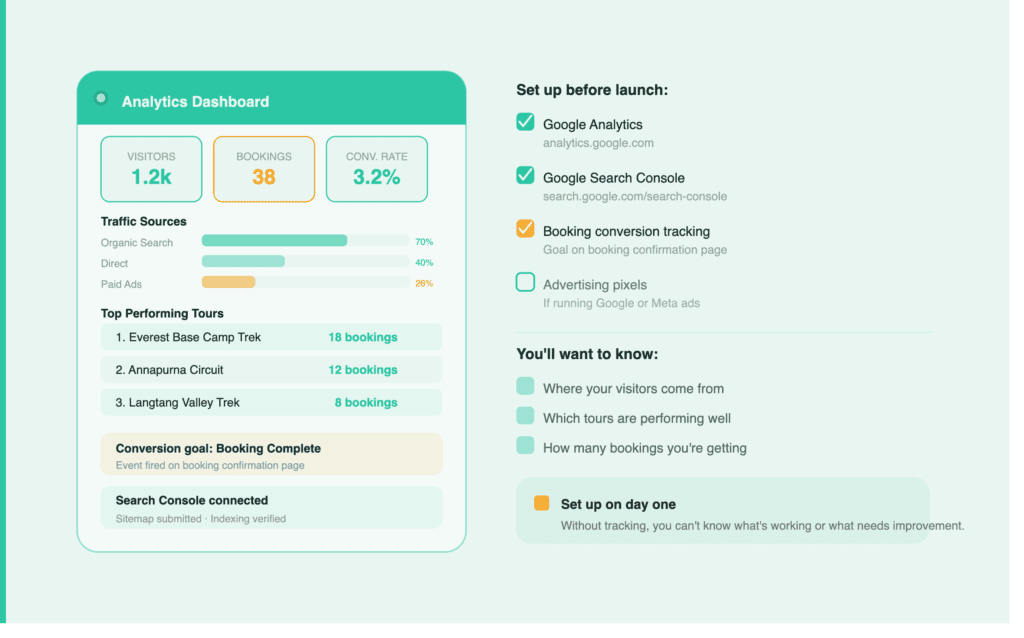
Set up:
- Google Analytics
- Google Search Console
- Booking conversion tracking
- Advertising pixels if you’re running ads
Google Analytics → https://analytics.google.com/
Google Search Console → https://search.google.com/search-console/about
Without tracking, it’s difficult to know what’s working and what needs improvement.
Secure Your Website and Prepare for the Unexpected
Your website will handle customer information and payments, so security should never be an afterthought.
Website protection should not be overlooked in your Tour Booking Website Launch Checklist, as travel websites handle customer details and payments.
Before launch:
- Enable SSL
- Update plugins and themes
- Create strong passwords
- Install a security plugin
- Set up automated backups
- Enable two-factor authentication
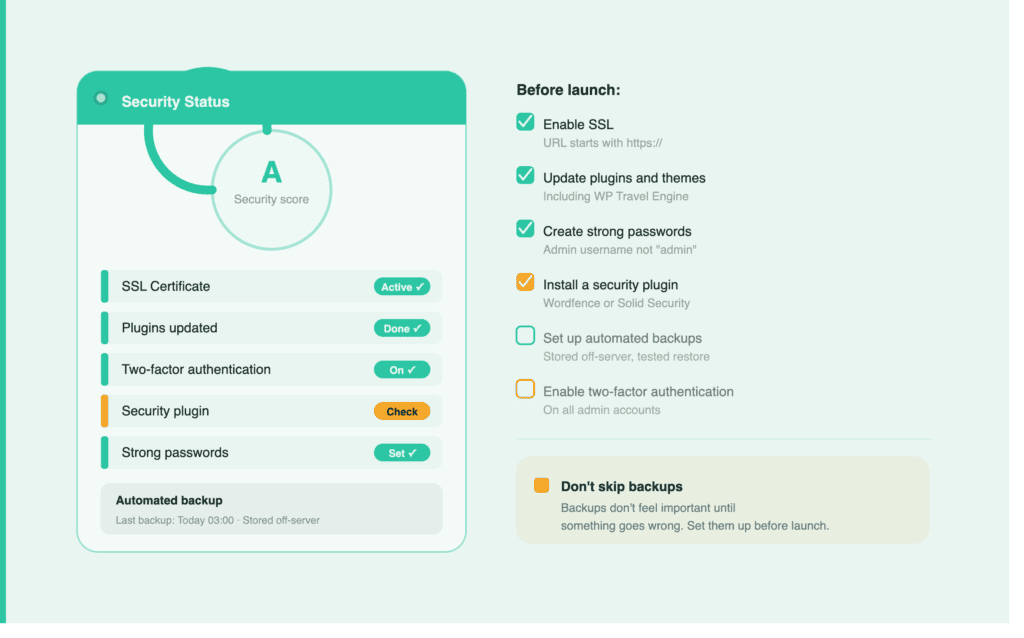
Backups may not seem important until something goes wrong.
Finally, Make Sure Your Team Is Ready
A successful launch isn’t only about technology. This Tour Booking Website Launch Checklist also includes preparing your team to manage bookings, customer questions, cancellations, and refunds smoothly.

Your team should know:
- How to manage bookings
- How to respond to customer questions
- How to process cancellations and refunds
- Who monitors new bookings each day
Even the best booking website still needs people behind it.
One Last Test Before You Publish
Open your website in an incognito window.
Book a tour from start to finish.
Then do the same thing on your phone.
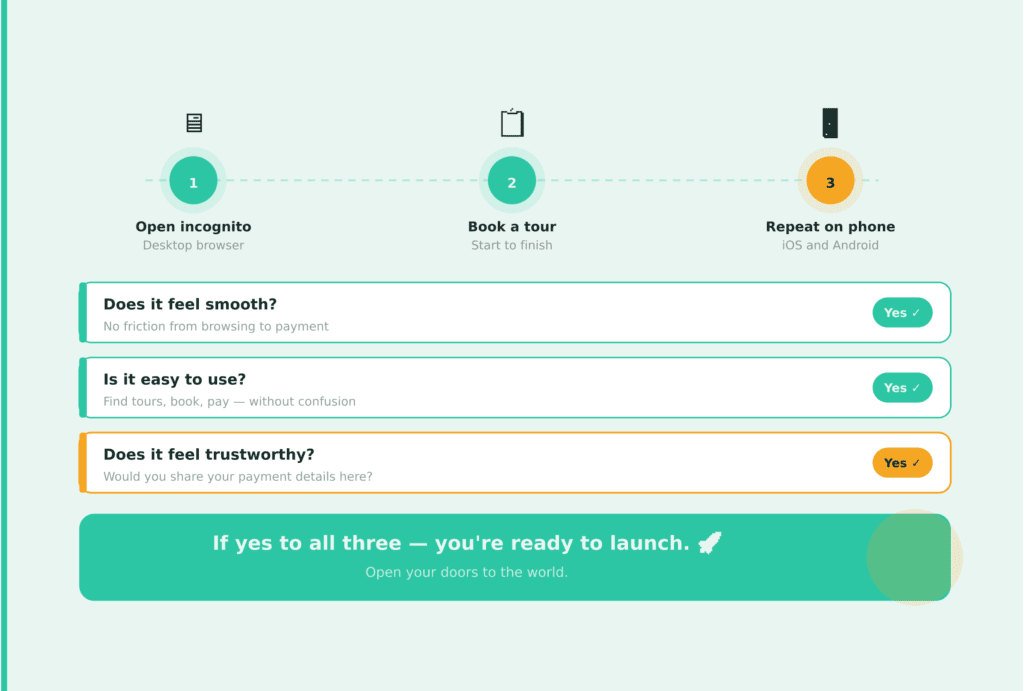
If the experience feels smooth, easy, and trustworthy, you’re ready to launch.
Final Tour Booking Website Launch Checklist Before Publishing
Before publishing, complete this Tour Booking Website Launch Checklist to confirm your website is ready for customers.

✅ Tours reviewed
✅ Booking flow tested
✅ Pricing verified
✅ Payment gateways are working
✅ Emails configured
✅ Navigation checked
✅ Website speed optimized
✅ Mobile experience tested
✅ SEO completed
✅ Analytics installed
✅ Security enabled
✅ Team prepared
Ready to Go Live?
Completing your Tour Booking Website Launch Checklist ensures every important part of your website is ready before customers start booking.
Launching a tour booking website is not only about publishing pages. It is about creating a smooth customer journey from finding a tour to completing a booking.
Taking a little extra time before launch can save you from lost bookings, payment issues, and frustrated customers later.
A complete tour booking software should handle tour management, bookings, payments, and email in a single system. WP Travel Engine brings all these features together, making it easier to build and manage a tour website.
Explore WP Travel Engine, a tour booking plugin built for complete tour management.


